
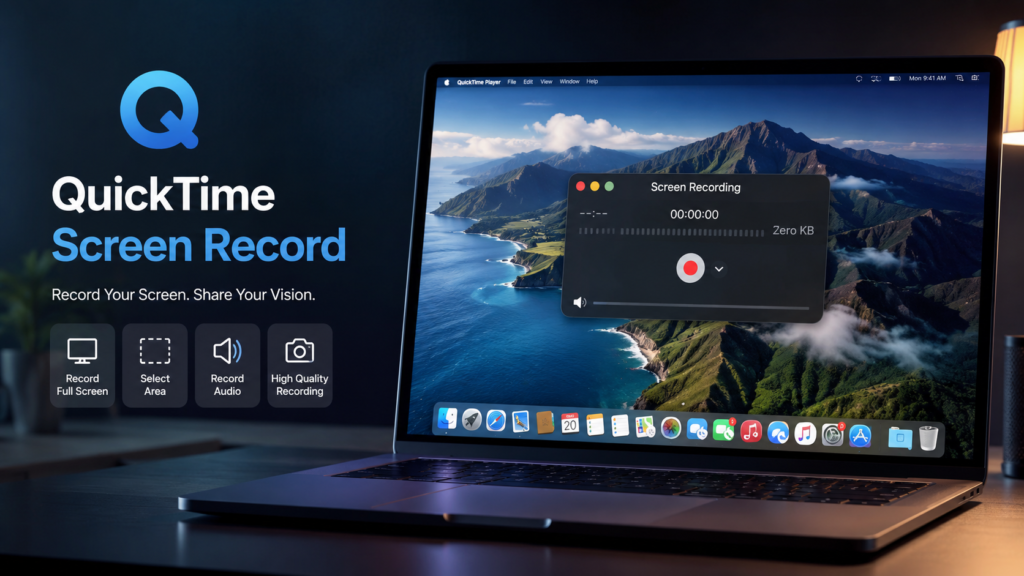

Screen recording has become an essential feature for students, professionals, teachers, gamers, and content creators. Whether you’re creating tutorials, recording online meetings, demonstrating software, or saving important presentations, QuickTime screen recording offers one of the easiest and most reliable ways to capture your screen on a Mac.
The best part? It comes pre-installed with macOS, so you don’t need to download or purchase any additional software.
In this guide, you’ll learn everything about QuickTime screen recording, including how to record your screen, enable audio, edit recordings, troubleshoot common problems, and discover useful alternatives.
What Is QuickTime Screen Recording?
QuickTime Player is Apple’s built-in multimedia application that includes a powerful screen recording feature. It allows Mac users to record:
- The entire screen
- A selected portion of the screen
- Screen with microphone audio
- Mouse clicks (optional)
Since it is included with macOS, QuickTime is considered one of the safest and easiest screen recording tools available.
Why Use QuickTime Screen Recording?
There are many reasons people choose QuickTime over third-party software.
Advantages
- Free with every Mac
- No advertisements
- Simple interface
- High-quality video recording
- No watermark
- Fast export process
- Secure and privacy-friendly
It is perfect for:
- Online classes
- Software tutorials
- YouTube videos
- Business presentations
- Technical support
- Recording webinars
- Product demonstrations
How to Start QuickTime Screen Recording
Follow these simple steps.
Step 1: Open QuickTime Player
Press Command + Space, type QuickTime Player, and open the application.
Step 2: Start a New Screen Recording
Click:
File → New Screen Recording
A recording toolbar will appear.
Step 3: Choose Recording Options
Before recording, click the Options menu.
Here you can select:
- Built-in microphone
- External microphone
- Save location
- Timer
- Mouse click highlights
Selecting the microphone allows you to record narration along with your screen.
Step 4: Record the Screen
You have two options:
Record Entire Screen
Simply click anywhere on the screen.
Record Selected Area
Drag your cursor to select a specific area.
Click Record.
Step 5: Stop Recording
When finished:
- Click the Stop button in the menu bar
- Or press:
Command + Control + Esc
Your recording automatically opens in QuickTime for preview.
How to Record Screen With Audio
Many beginners think QuickTime records internal audio automatically.
It doesn’t.
QuickTime can record:
- Voice through microphone
- External microphone
- USB microphone
However, it cannot record system audio directly without third-party audio drivers.
If you’re recording tutorials, selecting your microphone is usually enough.
Can QuickTime Record Internal Audio?
By default:
❌ No.
macOS blocks direct internal audio recording for privacy reasons.
If you need system audio, many users install virtual audio drivers like:
- BlackHole
- Loopback
- Soundflower (older)
These tools route Mac audio into QuickTime.
Editing Your Recording
QuickTime also includes basic editing features.
After recording, you can:
- Trim beginning
- Trim ending
- Remove mistakes
- Save a shorter version
Simply click:
Edit → Trim
Drag the yellow handles and save.
Best Settings for High-Quality Recording
For the best results:
- Close unnecessary applications
- Use a good microphone
- Record in a quiet room
- Keep sufficient storage available
- Restart your Mac before long recordings
These small improvements noticeably increase recording quality.
Where Are QuickTime Recordings Saved?
Depending on your settings, recordings are usually saved in:
- Desktop
- Documents
- Movies folder
You can change the save location before every recording through the Options menu.
QuickTime Screen Recording Shortcuts
Useful keyboard shortcuts include:
| Shortcut | Function |
|---|---|
| Command + Space | Open Spotlight |
| Command + Control + Esc | Stop recording |
| Command + S | Save recording |
| Command + W | Close recording |
Learning these shortcuts makes recording much faster.
Common QuickTime Screen Recording Problems
Recording Doesn’t Start
Possible reasons include:
- Missing Screen Recording permission
- Insufficient storage
- macOS security settings
Go to:
System Settings → Privacy & Security → Screen Recording
Enable QuickTime Player.
No Audio
Check that:
- Correct microphone is selected
- Microphone permission is granted
- Volume is turned up
Black Screen
Some protected apps (such as streaming platforms) block screen recording because of DRM protection.
This is normal behavior.
Recording Is Lagging
Try:
- Closing background apps
- Restarting your Mac
- Recording smaller screen areas
- Freeing disk space
Tips for Better Screen Recordings
Professional-looking recordings are easier to create than many people think.
Here are some helpful tips:
- Hide desktop notifications
- Use Do Not Disturb mode
- Clean your desktop
- Zoom in where necessary
- Speak clearly
- Keep your cursor movements slow
- Plan your tutorial before recording
These small details significantly improve viewer experience.
QuickTime vs Other Screen Recording Software
| Feature | QuickTime | OBS Studio | ScreenFlow |
|---|---|---|---|
| Free | ✅ | ✅ | ❌ |
| Built into macOS | ✅ | ❌ | ❌ |
| Easy to Use | ✅ | Moderate | Easy |
| Internal Audio | Limited | ✅ | ✅ |
| Video Editing | Basic | Limited | Advanced |
| Live Streaming | ❌ | ✅ | ❌ |
QuickTime is ideal for beginners, while OBS and ScreenFlow are better suited for advanced users who need more features.
Who Should Use QuickTime Screen Recording?
QuickTime is an excellent choice for:
- Students
- Teachers
- Developers
- Freelancers
- Customer support teams
- Business professionals
- Content creators
- YouTubers
- Bloggers
If your goal is creating tutorials or educational content, QuickTime provides everything you need without additional software.
Best Practices for Professional Recordings
Before you begin recording:
- Write a simple script
- Close private documents
- Disable notifications
- Test your microphone
- Record a short sample first
- Organize files beforehand
Preparation saves editing time later.
Frequently Asked Questions
Is QuickTime screen recording free?
Yes. QuickTime Player is completely free and comes pre-installed on every Mac.
Can QuickTime record audio?
Yes. It records microphone audio. Recording internal system audio requires additional virtual audio software.
Does QuickTime add a watermark?
No. QuickTime recordings have no watermark.
Can I record only part of my screen?
Yes. You can select a custom recording area before starting.
What video format does QuickTime save?
Most recordings are saved as MOV files, which offer excellent video quality and broad compatibility.
Is QuickTime good for YouTube videos?
Yes. Many creators use QuickTime to record tutorials, presentations, software demos, and educational videos before editing them for YouTube.
Conclusion
QuickTime screen recording remains one of the easiest and most dependable ways to capture your Mac screen. Because it is free, built into macOS, and simple to use, it’s an excellent option for beginners and professionals alike.
Whether you’re recording an online lecture, creating a software tutorial, documenting a bug, or making content for YouTube, QuickTime delivers reliable performance without requiring extra downloads. While it has some limitations—such as the inability to record internal system audio by default—its ease of use and high-quality output make it a top choice for everyday screen recording tasks.
Start experimenting with QuickTime today, and with a little practice, you’ll be creating polished screen recordings in just a few minutes.